Hi guys, here is an interesting tutorial on drawing a
Walt Disney character in Adobe Flash Pro.
You can use it or you can search and find for other from Internet. It will be good if you could get a sketch.
Step 1
Open
Adobe Flash.
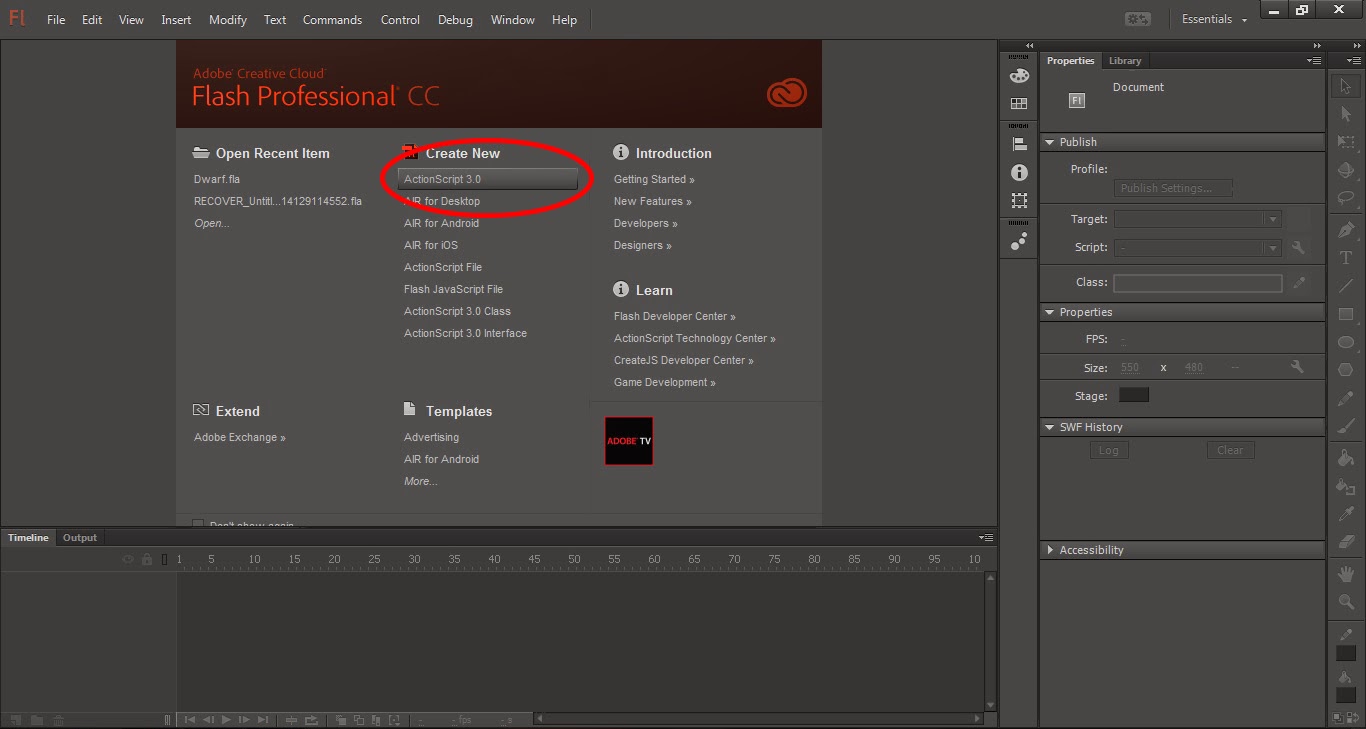 |
| Click on ActionScript 3.0 (Inside the circle) |
Step 2
Click on
ActionScript 3.0.
You will get a stage window like this...
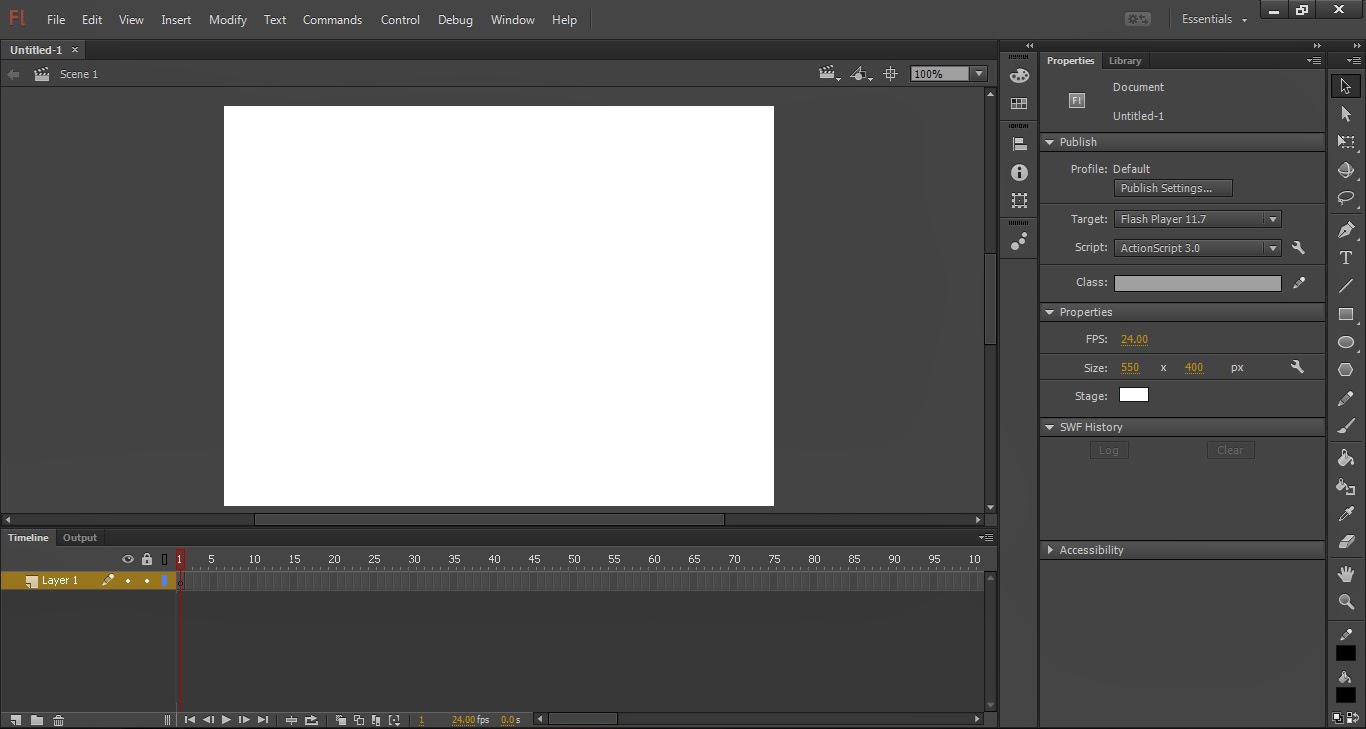 |
| Stage Window |
Step 3
Now, we want to create a new layer. For that, click on
Insert →
Timeline →
Layer.
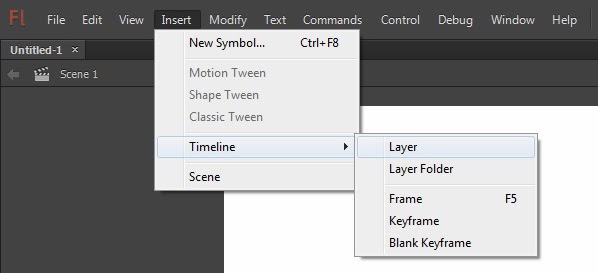 |
| Creating a New Layer |
Step 4
Next, we want to import the sketch/image - that we want to draw - to the stage. Click on
File →
Import → Import to Stage...
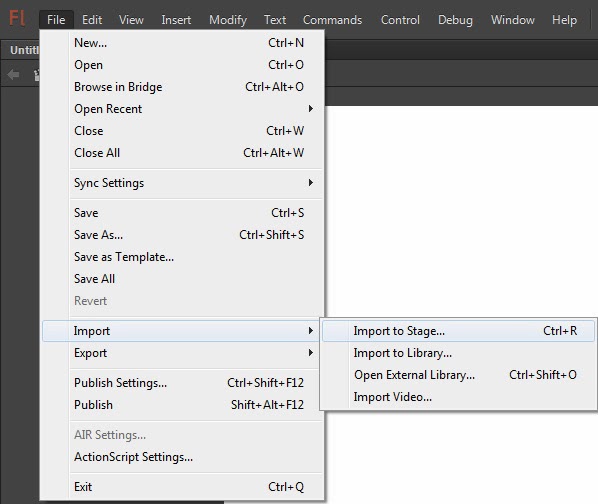 |
| Click on Import to Stage... or press Ctrl + R |
Select the file and click
Open.
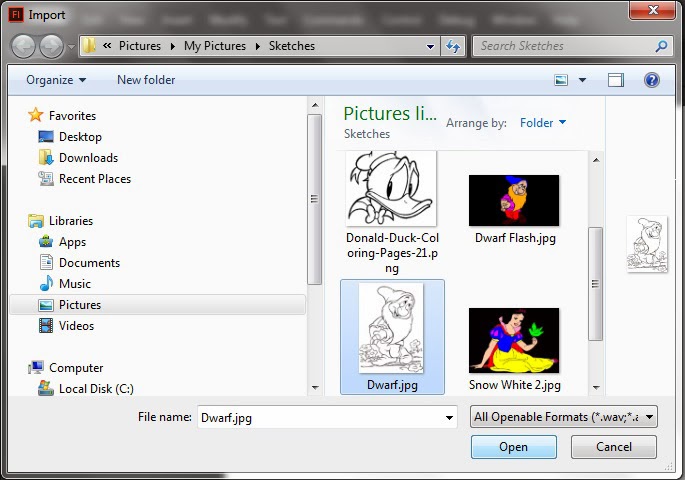 |
| Click on Open |
You must notice the width and height of the sketch that you imported.
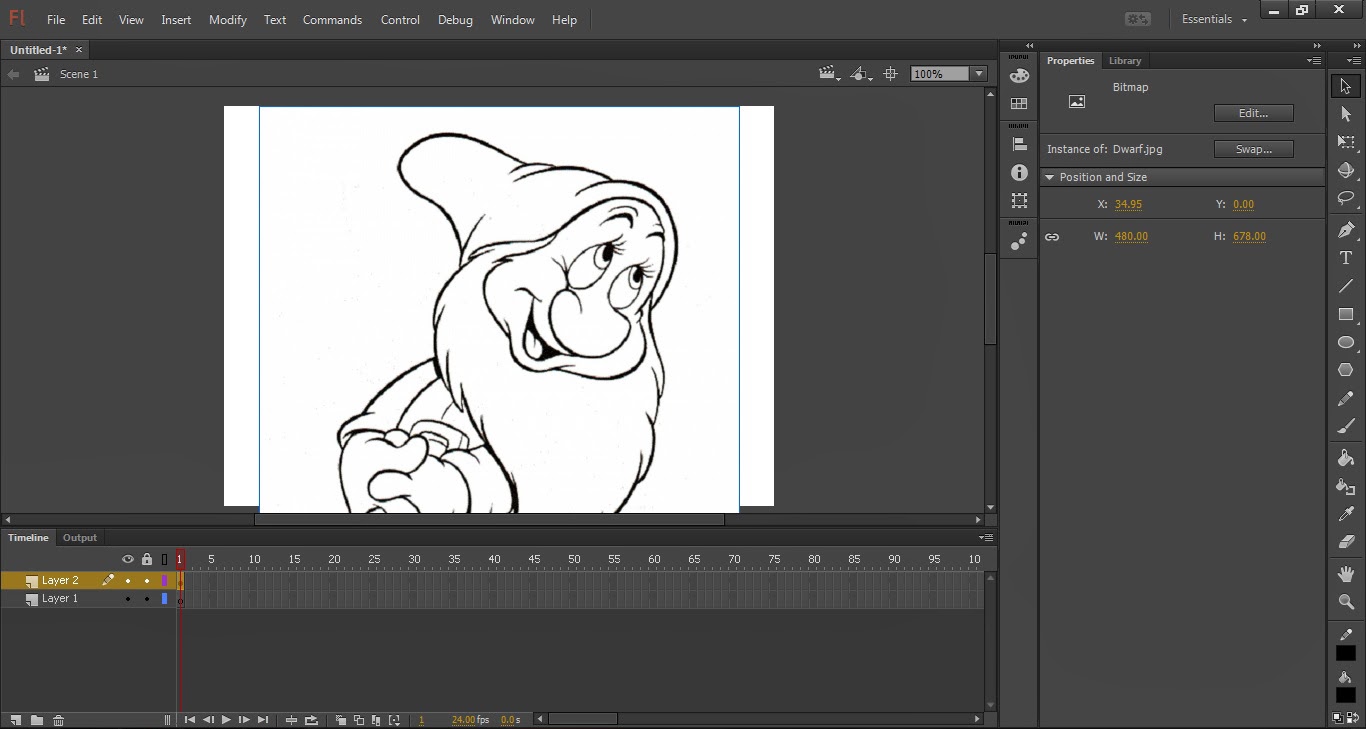 |
| Check the Position and Size of the image on the properties window |
Step 5
Resize the stage according to that.
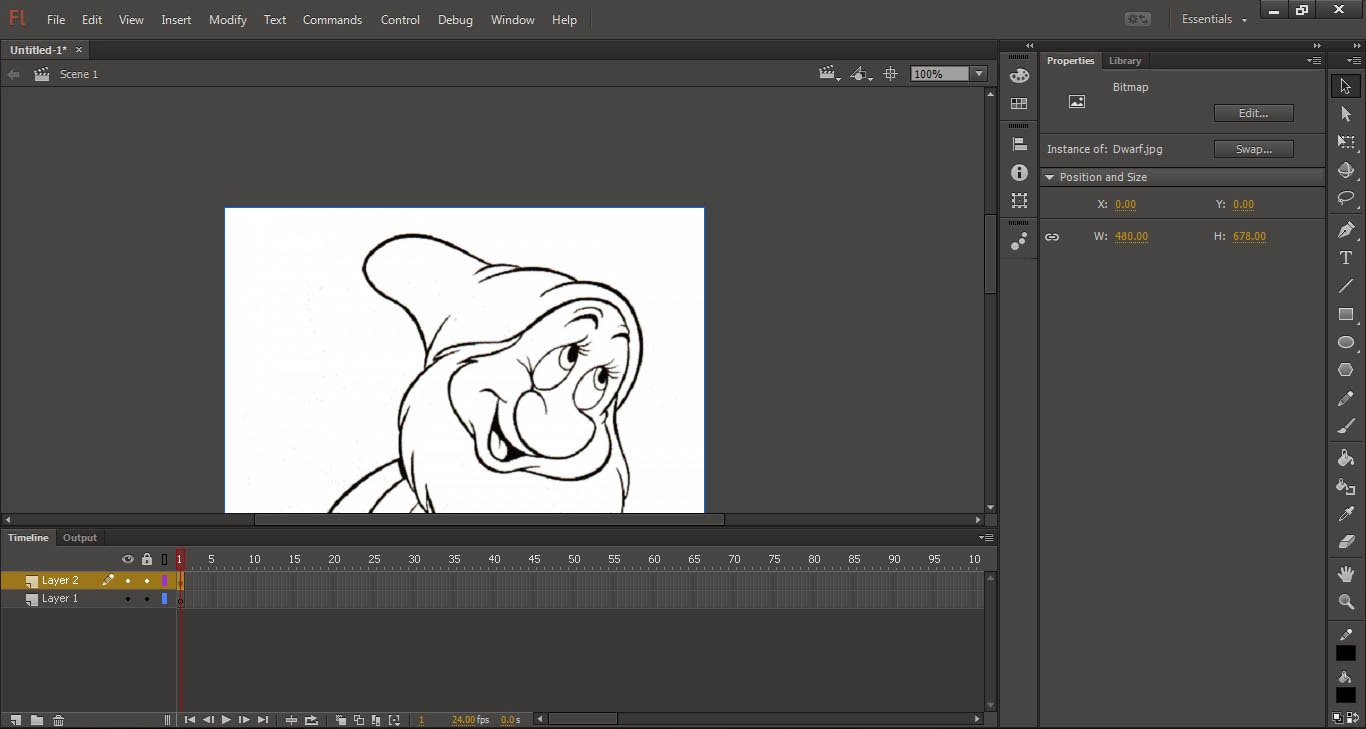 |
| Resized stage according to image |
Step 6
After that, click on
Modify → Convert to Symbol... or press
F8. This is done for customizing the properties of the sketch.
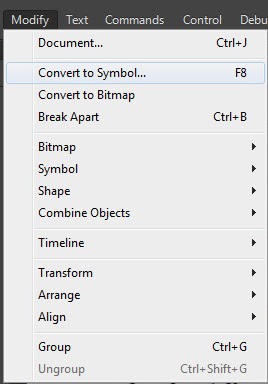 |
| Modify>Convert to Symbol |
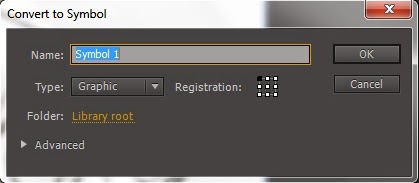
Step 7
Give a name if you need and don't forget to select
Graphic as
Type. Click
OK.
 |
| Choose Graphic Type |
Step 8
Now, we should reduce the opacity of the sketch, since we are drawing over a layer. To do that, choose
Alpha as the
Style from the properties window on the right side.
 |
| Choose Alpha as style |
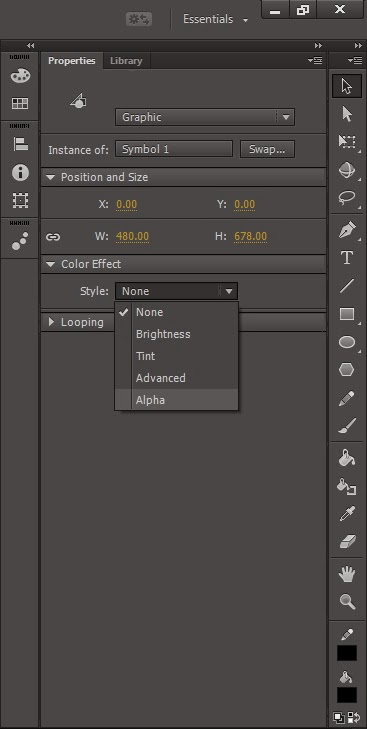
Step 9
Adjusting the
Alpha will adjust the opacity of the sketch.
 |
| Adjust the Alpha |
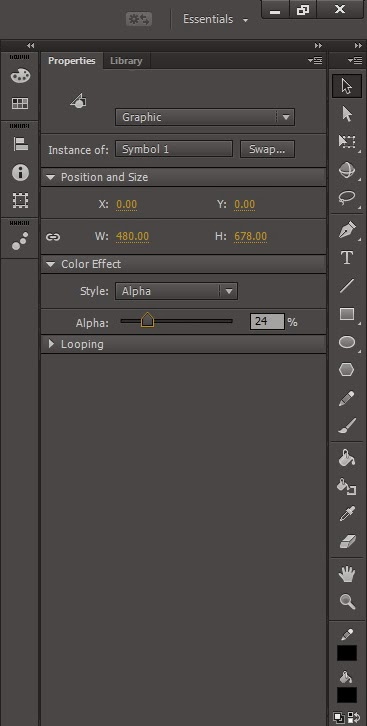
Set it as per your need.
 |
| Opacity reduced |
Step 10
Next, we should lock
Layer 2. Click on the
Lock icon near the
Layer 2. This is done for drawing accurately.
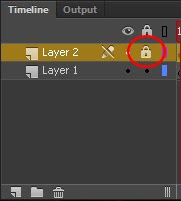 |
| Locking the layer |
Step 11
Choose the
Layer 1.
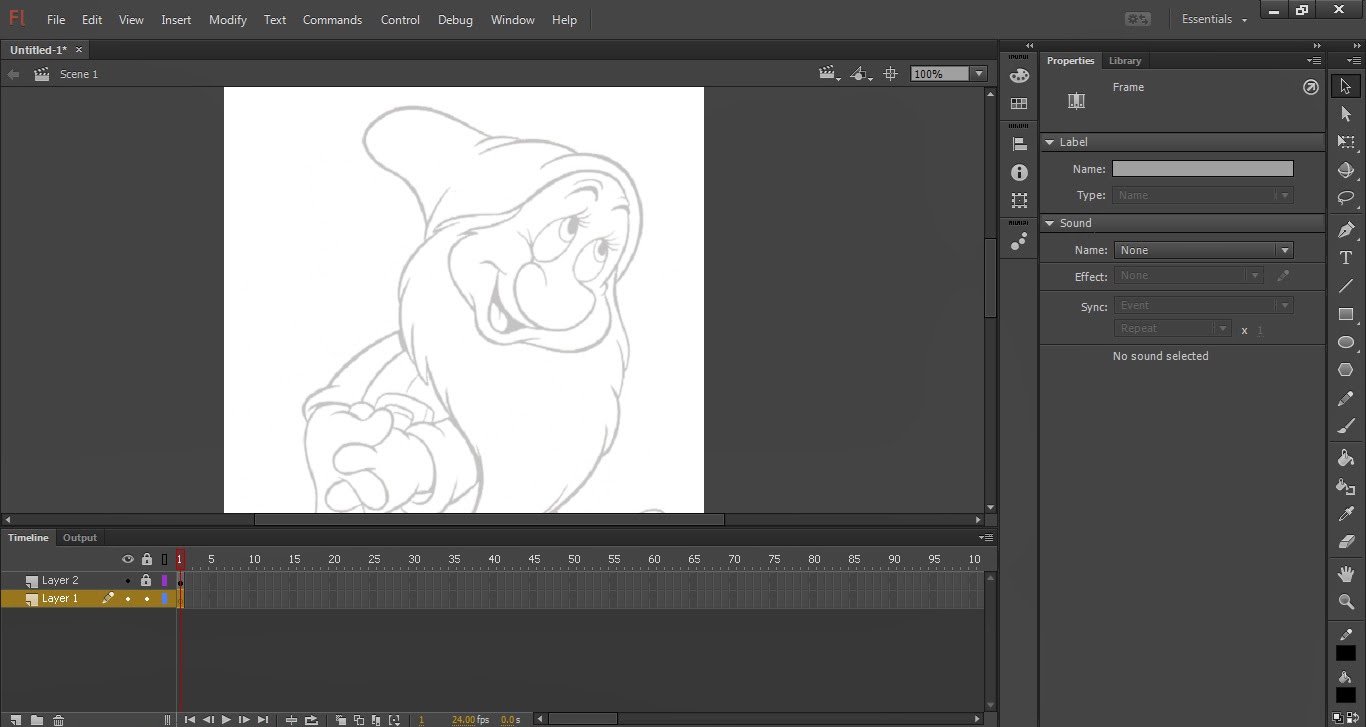 |
| Choose the Layer 1 |
Step 12
We are going to begin drawing. There are many drawing tools in the
Toolbox such as
Brush,
Pencil etc... Here I chose the
Brush Tool.
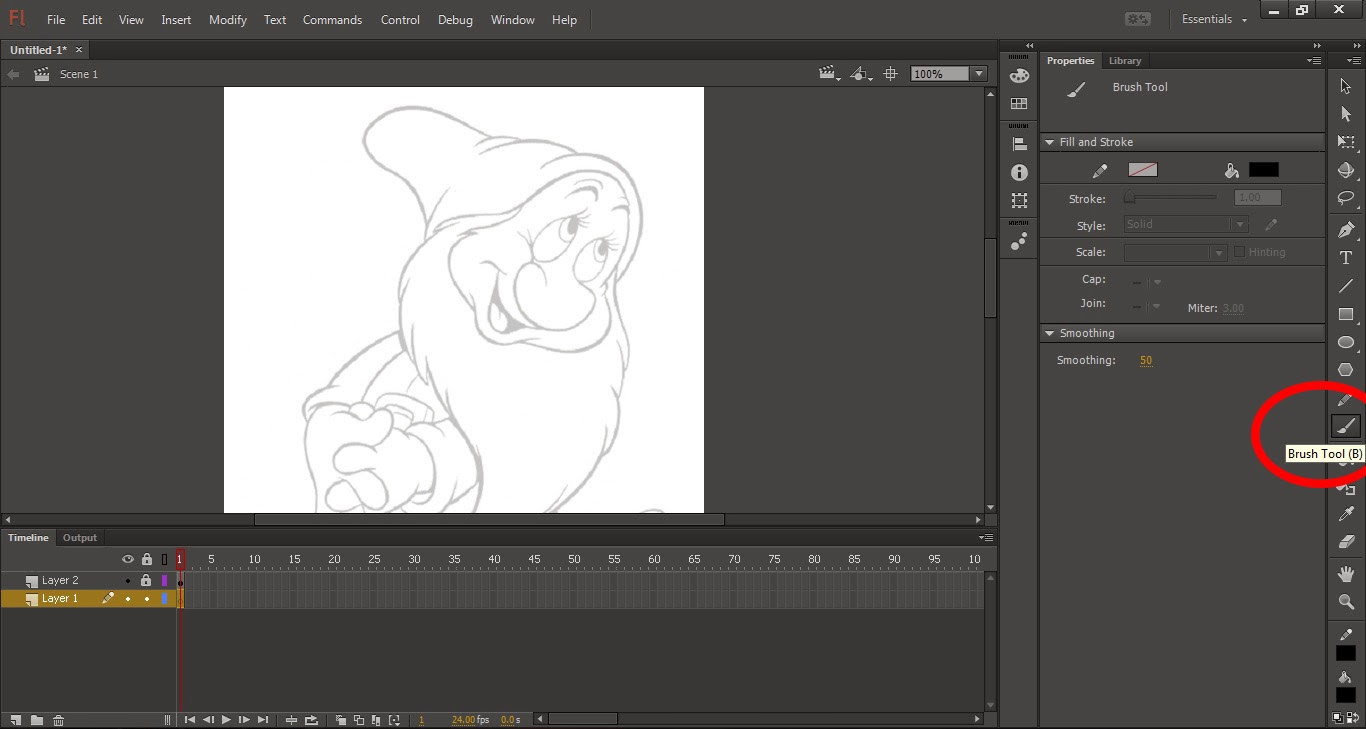 |
| Choose the Brush Tool |
You can adjust the
Stroke on the properties window. Then start drawing.
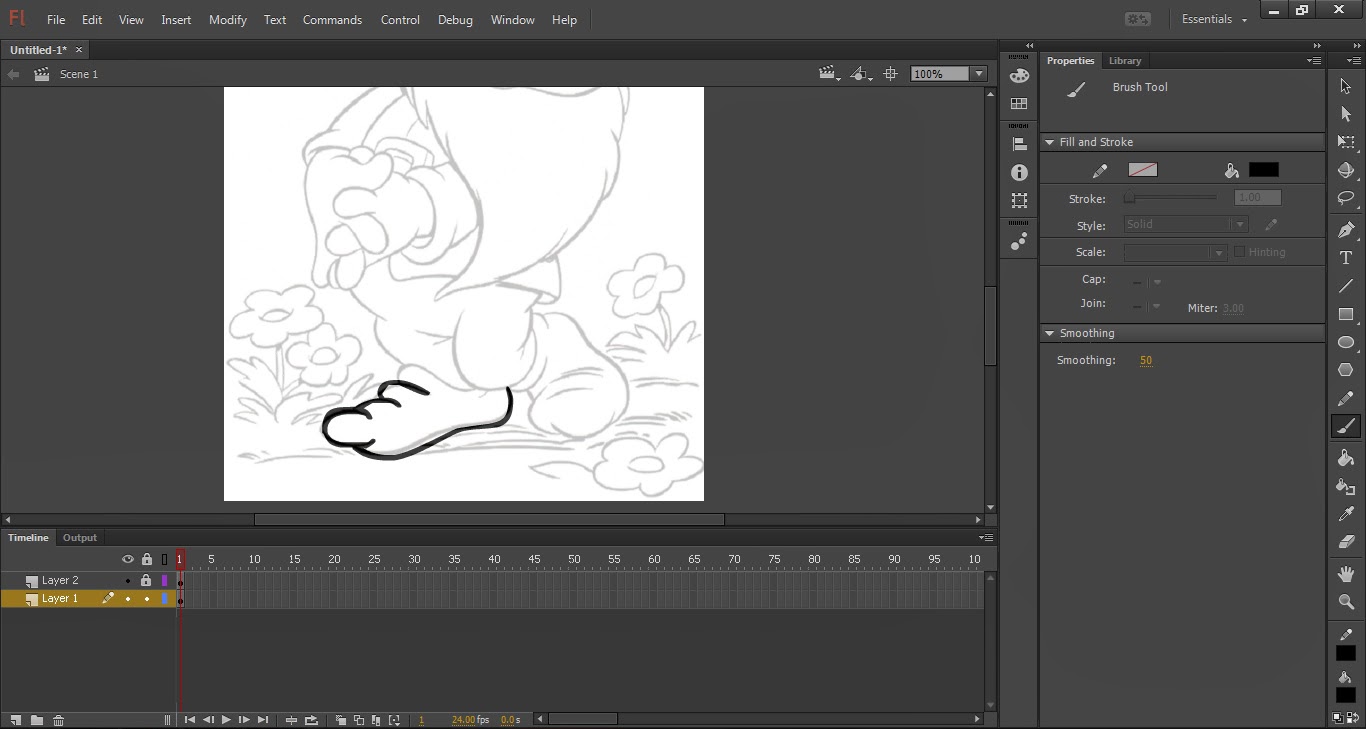 |
| Drawing based on the sketch |
For getting correct curves and all, you can use the
Selection Tool on the top of the
Toolbox. When placing the tool near the drawing, and you'll see a curve on the cursor. You can drag it and adjust the curves.
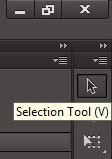 |
| Selection Tool |
Give suitable colour and make your drawing looks stunning.
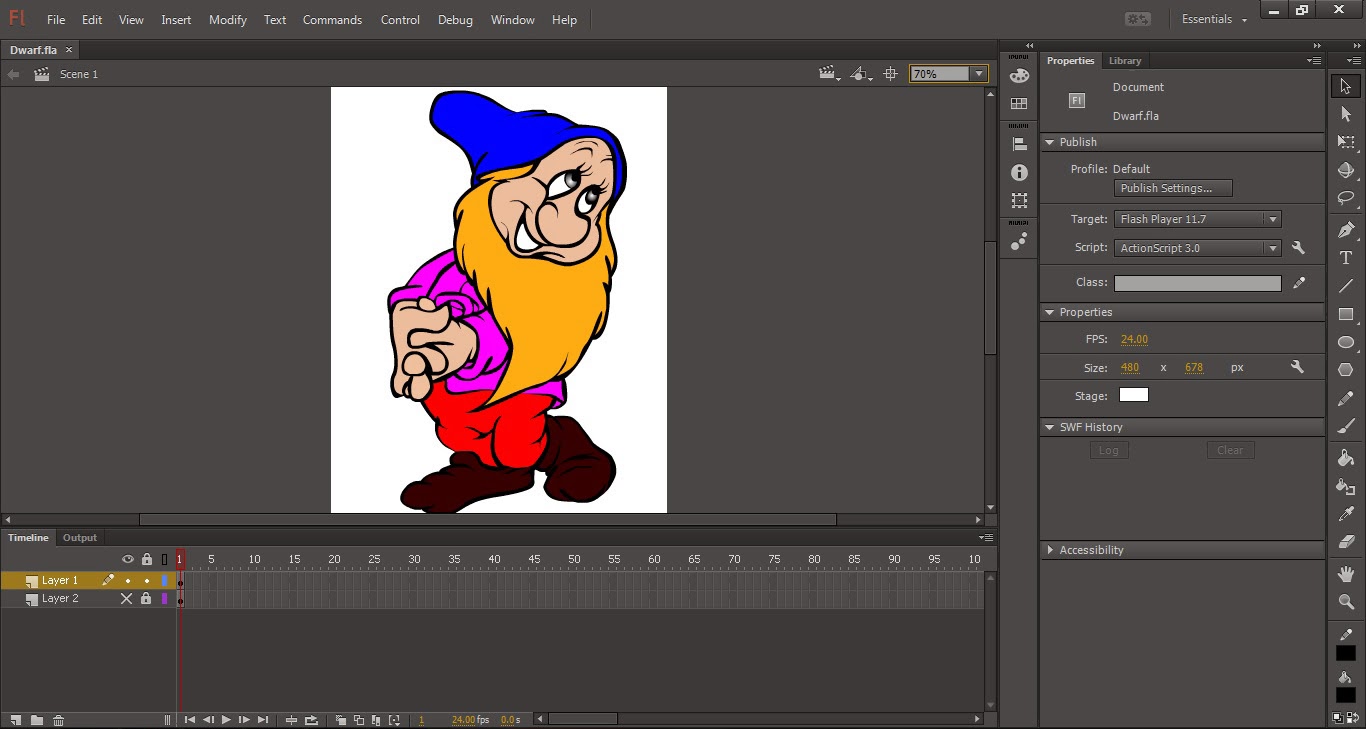 |
| Finished Project |
Step 13
When you're finished, delete the
Layer 2. To save your work as image, click on
File →
Export → Export Image...
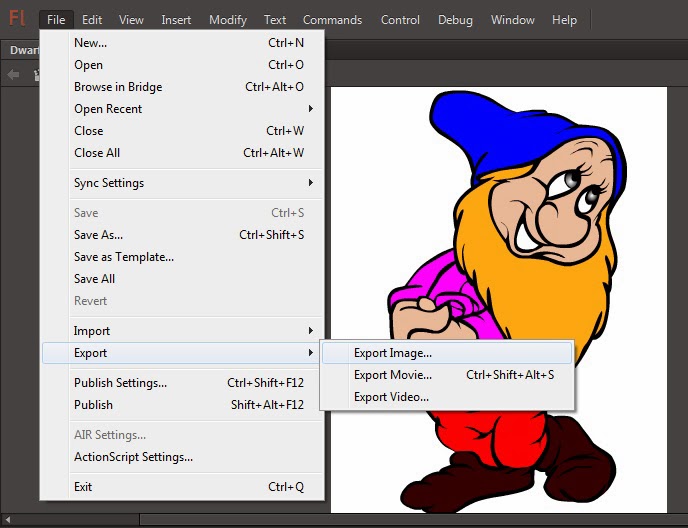 |
| Exporting as Image |
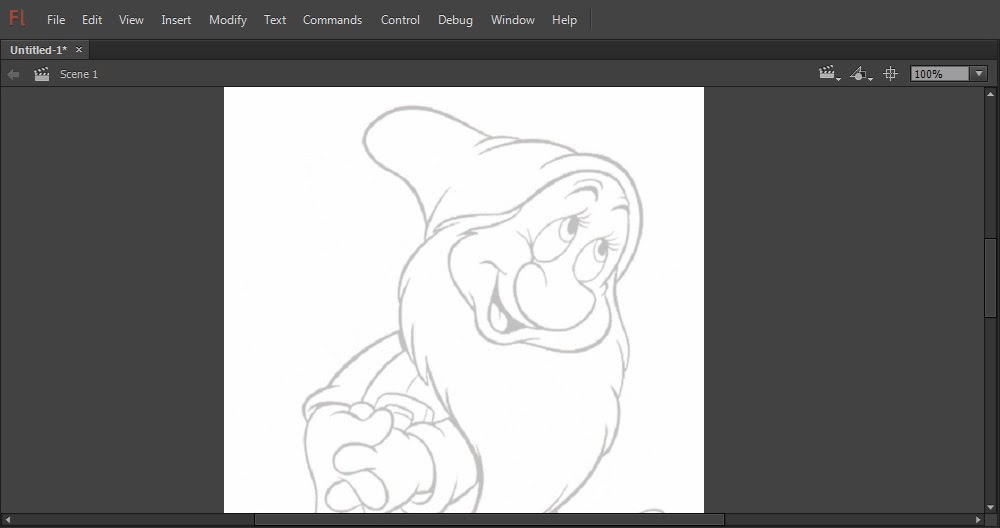
Save your project if you need. That's all! You'll get something like this, when you're finished with your work.
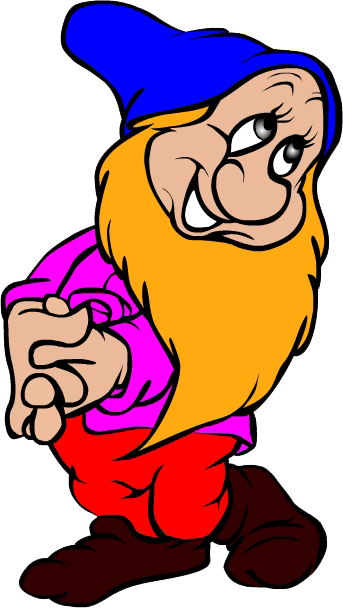 |
| Dwarf drawn using Adobe Flash |


No comments:
Post a Comment